
Drapery: Finished Width & Length Guide
Ordering custom drapery can be tricky! It’s not something we do every day and not something regular folks know a lot about which is why we are happy to help you! Here is a step-by-step process you can use to figure out how wide and how long to order your drapery:
1) Fill out our measuring form by clicking here
2) How wide should my drapes be?
Take the width (D) measurement and use the following chart to determine the finished width of your drapery:
| Window width | Amount to add to width | Amount out each side | Amount drapes will stack back to each side |
| Up to 40” | 8” | 4” | 6” |
| 40”-60” | 12” | 6” | 6”-10” |
| 60”-80” | 16” | 8” | 10”-12” |
| 80”-100” | 20” | 10” | 12”-15” |
| 100”-120” | 24” | 12” | 15”-18” |
| 120+ | 32” | 16” | 18”-24” |
If you have limitations on either side of your window, for example, a piece of furniture or an adjacent wall that does not allow you to follow the above chart, use the maximum amount of width with a little wiggle room left (ie: the wall is 8″ away on the left side, come out 6″ on both the left and the right so your treatment is balanced and your hardware is centred over the window).
3) How long should my drapes be?
Using your top of window to ceiling/crown measurement (B) to determine which section below suits your scenario best.
a) Mounting Close To The Ceiling With Less Than 12″ Above
If the top of your window trim is within 12″ of the ceiling or crown moulding we like to see the drapery mounted closer to the ceiling to elongate the look of the window but not so close it’s rammed up there you know? We always like to see about 1.5-3″ above the hardware so there is a bit of breathing room especially if you have a lovely crown moulding detail happening, we never like to see hardware mounted directly next to the crown, each design detail should have its own space to make their statement. In this case hold your tape above your window to determine where you would like the top of your drapery to land and this amount to the (C) measurement on your form. If you want the drapes kissing the floor this is your finished length (be sure to leave around 4-5″ above your tape measure to the ceiling/crown for your hardware and breathing room above). If you want the drapes clearing the floor, deduct 1/4″. If you want the drapes breaking on the floor add 1″ and if you wish to have them resting or puddling add your desired amount.
b) Mounting When You Have More Than 12″ Above Window
When you have more than 12″ above your window to your crown or ceiling we always recommend “treating the window” which for us means mounting the hardware around 6-8″ above the window trim depending on the scale of the window. We never like to see the hardware floating way up above the trim which can sometimes look like the drapery was made too long or not purposeful. In Monika Hibbs’ home, their specialty doors already had a lot of white space in the casing so the drapery needed to be placed at a reasonable height above the trim to maintain the look of “treating the window”.
In this case, hold your tape above your window to determine where you would like the top of your drapery to land and this amount to the (C) measurement on your form. If you want the drapes kissing the floor this is your finished length (be sure to leave around 4-5″ above your tape measure to the ceiling/crown for your hardware and breathing room above). If you want the drapes clearing the floor, deduct 1/4″. If you want the drapes breaking on the floor add 1″ and if you wish to have them resting or puddling add your desired amount.

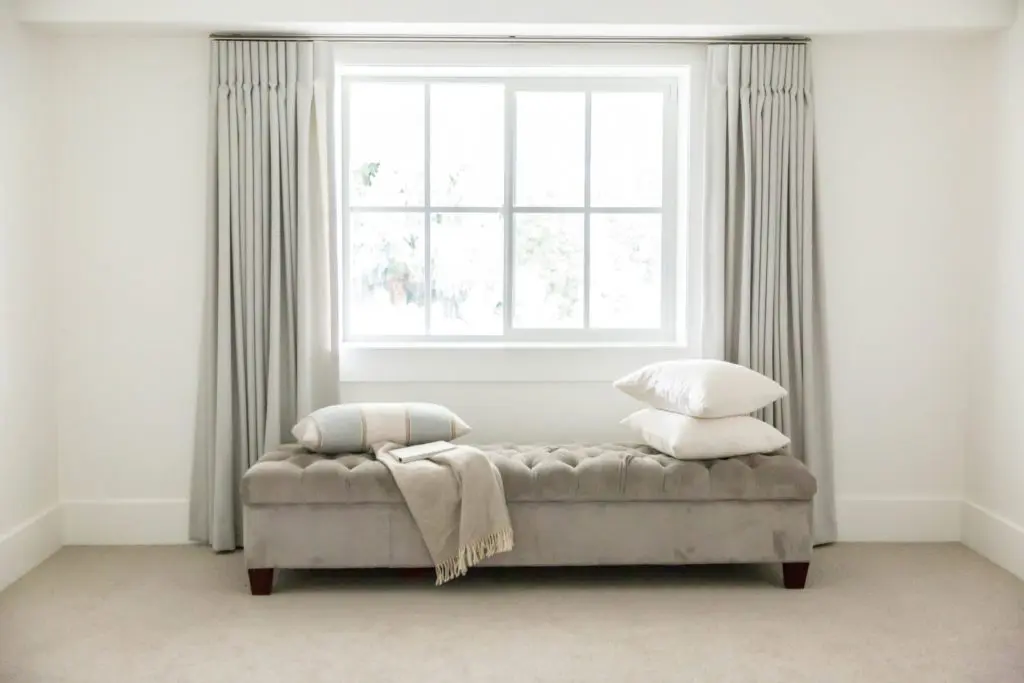
c) No Space Above Trim Solution!
You need at least 3″ above your window to mount most hardware brackets but what if you have no space above the trim to mount hardware? Often in homes with bulkheads or condos with glass that goes right up to the ceiling you need hardware that can ceiling mount. Luckily we have decorative hardware that can do just that! It’s called a channel track and does not have rings but allows you to have decorative hardware when in the past you would have had to settle for ugly white tracks. You can see this hardware in action in the photo here from Fraiche Living. Tori didn’t have any space above the window in her basement reading nook so the channel track was a great solution!
When measuring for channel track you want to take the (A) measurement and deduct 1.25″ for drapes to kiss the floor. Deduct 1.5″ for drapes to clear the floor. If you want the drapes to break on the floor use the entire (A) measurement and if you want them resting or puddling please add your desired amount to (A).
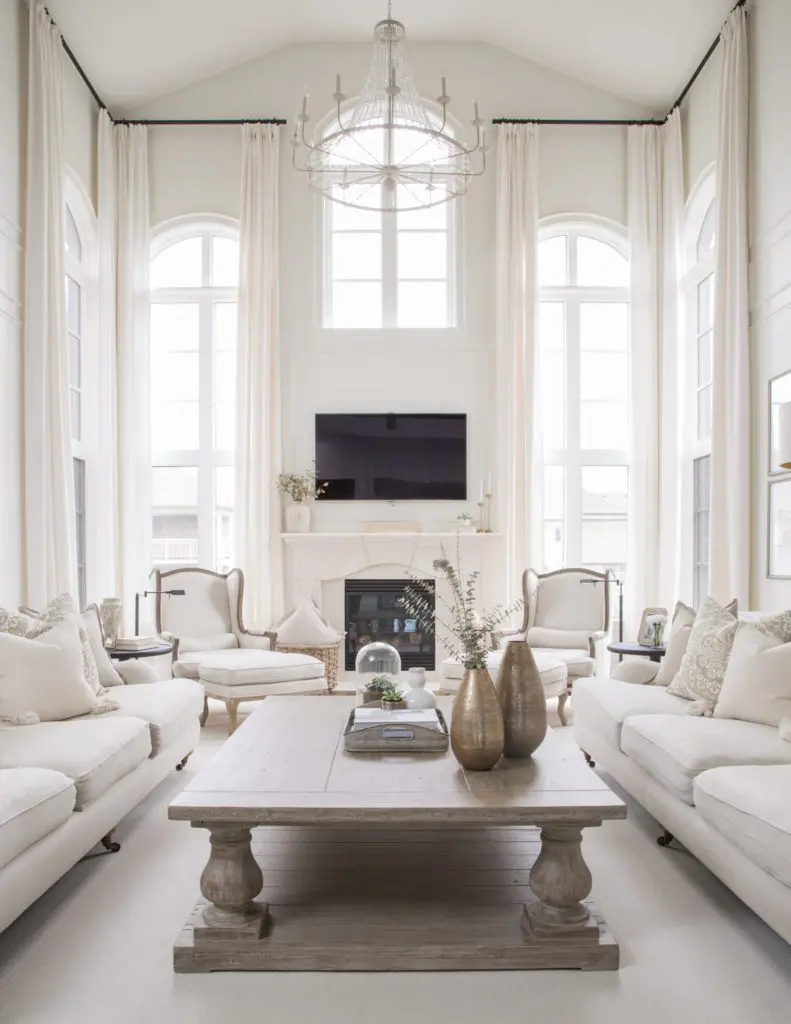
d) Exceptions To The Rules
Rules were made to be broken right? In some rooms, you can bend or break the rules to suit the design. When you have a room with a grand scale you can bring the drapery up to the ceiling as Jessica Mendes did in the room here. It makes sense for the scale of the space and the drapery becomes one of the room’s focal points. Every room needs its own consideration which is why we are always happy to help design your window treatments. We work with clients both near and far to get their drapery just right so you don’t have to break the rules by yourself and you can be sure to get it right the first time!
Whew! That was a lot of info and I hope you feel confident figuring it out! If not, we are always just an email away and are happy to use a photo and your measuring form to help you get the right finished sizing. You can send your photo and form to [email protected] and we will walk you through the whole process!
P.S. you can find more information on this topic and others on our YouTube channel here.